
Transform Your Furniture with Paint: A Step-by-Step Guide
Hey friends! Do you have a piece of furniture at home that looks a bit sad and could use some love? Maybe it’s an old chair that’s seen better days or a dresser that doesn’t excite you anymore. Well, I’ve got a super fun idea for you—let’s give it a new life with paint! 🎨 I promise, it’s easier than you think, and by the end of this guide, you’ll be looking around your house wondering what you can paint next! Ready to dive in?
Why Paint?
Alright, you might be wondering, “Why paint, of all things?” Well, let me tell you a quick story. Once upon a time, I had this old coffee table that was super boring. It was just plain brown and didn’t add anything special to my living room. But then I thought, “What if I painted it turquoise?” And guess what? It transformed my room! It was like adding a splash of happiness every time I walked in. So, my friend, that’s the magic of paint. It’s not just about changing color; it’s about bringing joy into your space. 😊
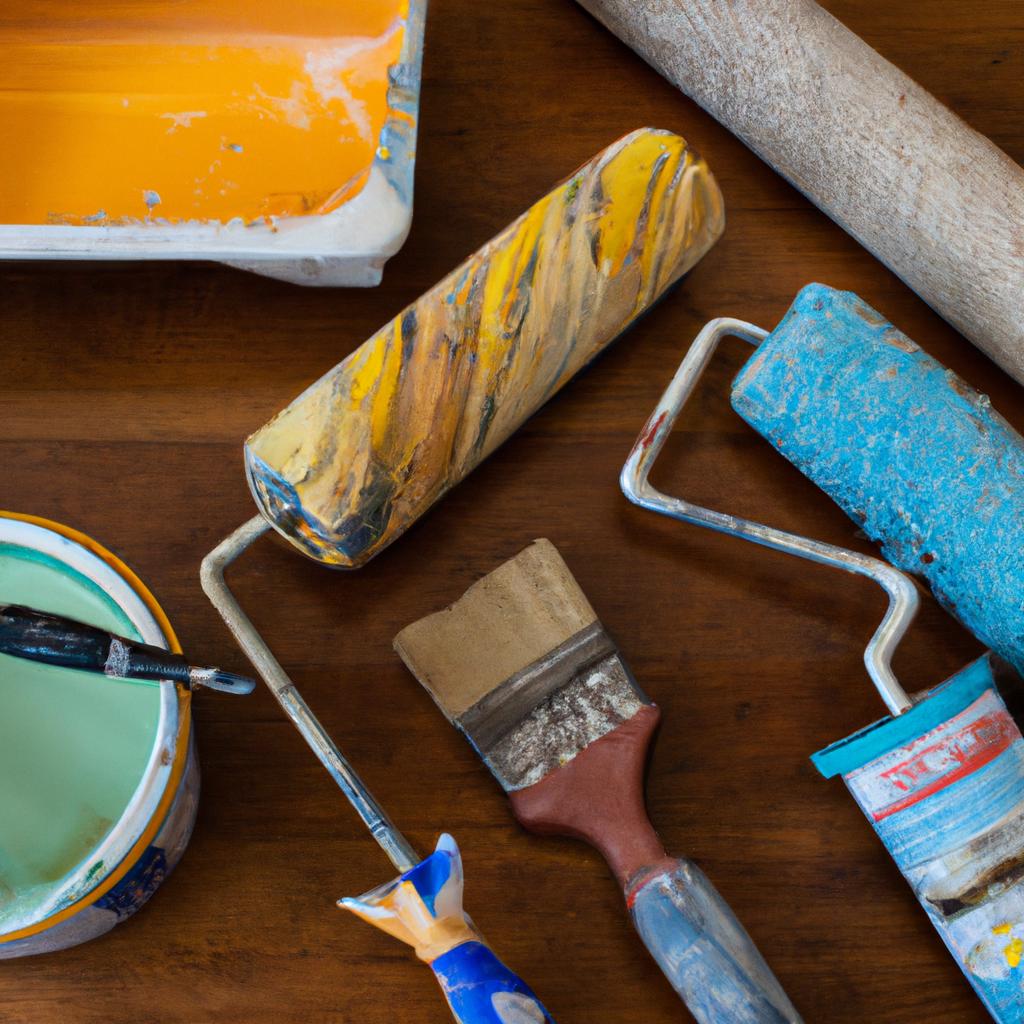
What You’ll Need
- Paint (choose your favorite color)
- Primer (so the paint sticks well)
- Sandpaper (to smooth out the furniture)
- A paintbrush or roller
- A clean cloth
- Painter’s tape (to keep paint off places you don’t want it)
Step-by-Step Guide to Painting Your Furniture
Step 1: Choose Your Victim
First things first, pick the piece of furniture you want to transform. It could be anything from a chair that’s been in your family for ages to a shelf you found on the side of the road. Got something in mind? Awesome, let’s make it beautiful!
Step 2: Prep Like a Pro
Now, let’s get our furniture ready for its makeover. Start by giving it a good clean with a cloth to get rid of any dust or dirt. Next, grab your sandpaper and lightly sand the surface. This helps the paint stick better and gives you a smooth finish. Remember to wipe it down again after sanding!
Step 3: Tape Time
Use your painter’s tape to cover any areas you don’t want to paint, like knobs or edges. This little step makes a big difference in making your project look neat and tidy.
Step 4: Primer Power
Apply a coat of primer to your furniture. This might seem like an extra step, but trust me, it’s worth it. Primer helps the paint to stick better and last longer. Plus, it makes the color pop!
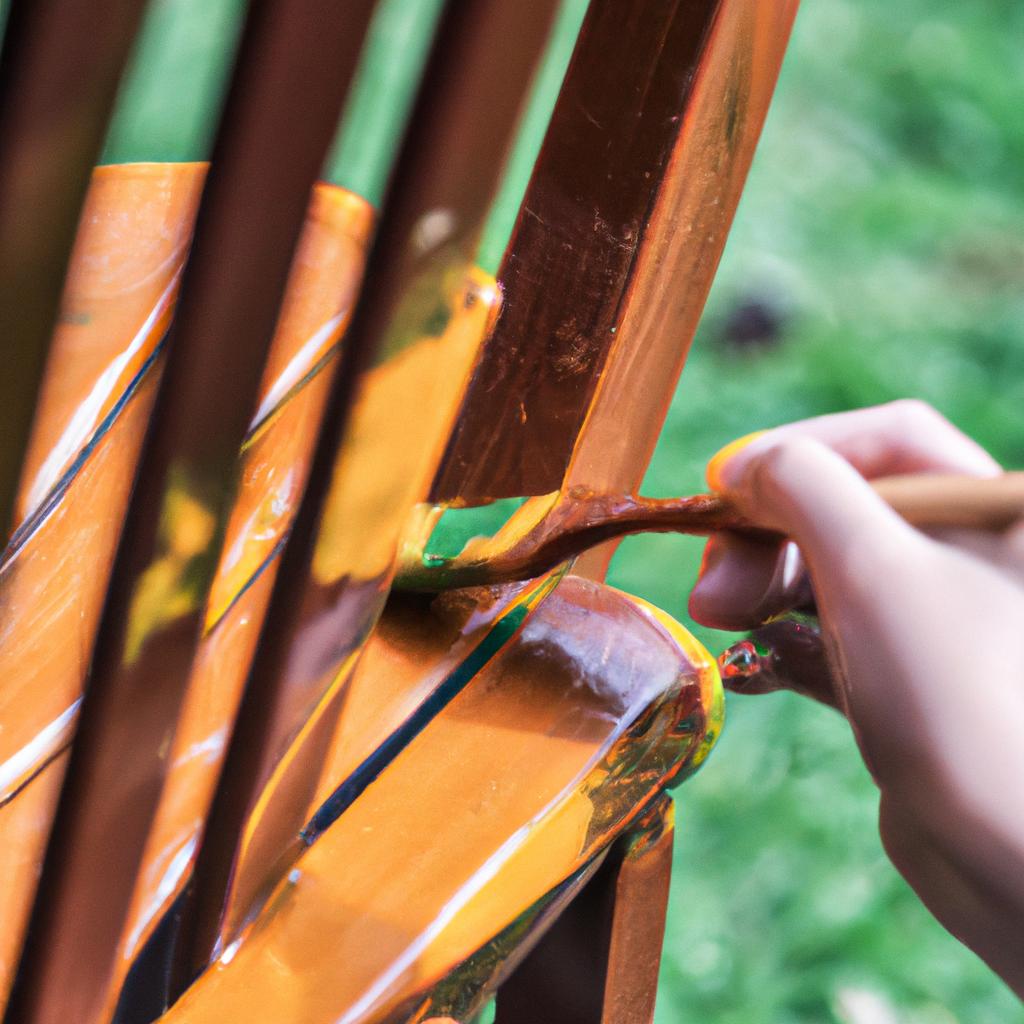
Step 5: Let the Painting Begin!
Finally, the fun part—painting! Dip your brush or roller into the paint and start covering your furniture with your chosen color. Use nice, even strokes for the best finish. You might need a couple of coats, so be patient and let it dry completely between coats.
Voila! Enjoy Your New Piece
And there you have it! Once your furniture is completely dry, remove the painter’s tape, and ta-da! You’ve got yourself a brand-new piece that’s ready to dazzle in your home. Doesn’t it feel great to see the transformation? 🌈
I’d love to hear about your painting adventures! Did you choose a bold color, or did you keep it classic? Any funny mishaps along the way? Share your stories and photos in the comments below—I can’t wait to see them!
Ready for More?
If you enjoyed this guide and are hungry for more DIY home decor projects, tips, and tricks, don’t stop here! Head over to our other posts for more inspiration. From turning old jars into chic vases to creating personalized wall art, there’s a world of creativity waiting for you. And if you have any questions or need advice, feel free to drop us a comment. Happy painting, everyone! 🖌️
Did you find this guide helpful? Got an idea for our next project? Leave a comment below or explore more fun and easy home decor ideas on our website. Together, let’s make our homes beautiful, one paint stroke at a time!